I didn’t worry about homeschool record keeping for 8 blissful years. Our state only requires attendance records so we just did our thing. (Those attendance sheets didn’t get filled in either #adhdmama.)
Then high school started. Every year I wasted hours searching for papers in desks, folders, and our storage ottoman. There were tests my kids never got credit for because I couldn’t find them when it was time to average grades!
When my third son started high school, I decided it was time to get my act together. But remember, this mama can’t even keep an attendance sheet.
Whatever I did, it needed to be dead simple. And this system is exactly that.
Step 1: Streamline Your Homeschool Grading
Some families grade everything. Some only grade quizzes, tests, and essays.
I fall into the latter camp.
Daily Work
Daily work is where our kids wrestle with what they’re learning and internalize it; keeping grades out of the picture allows this process to happen more freely.
I still review their daily work, but the absence of a grade keeps our focus on discussion and reflection rather than, “How do we bring this grade up?”
If there’s a chronic lack of effort, we first rule out hidden struggles. If we’re dealing with human nature, a respectful yet firm “come-to-Jesus” talk motivates my kids better than a bad grade.
Quizzes/Tests
The kids are at-elbow for the early years so we don’t start testing right away. I begin gradually, and the timing varies by child, but my general goal is:
- 1st – 2nd: spelling tests
- 3rd – 5th: add Latin
- 6th – 7th: add literature and math
- 8th: add classical studies and science
Again, this varies by child, but it gets us test-ready for high school.
Step 2: Simplify Your Homeschool Record Process
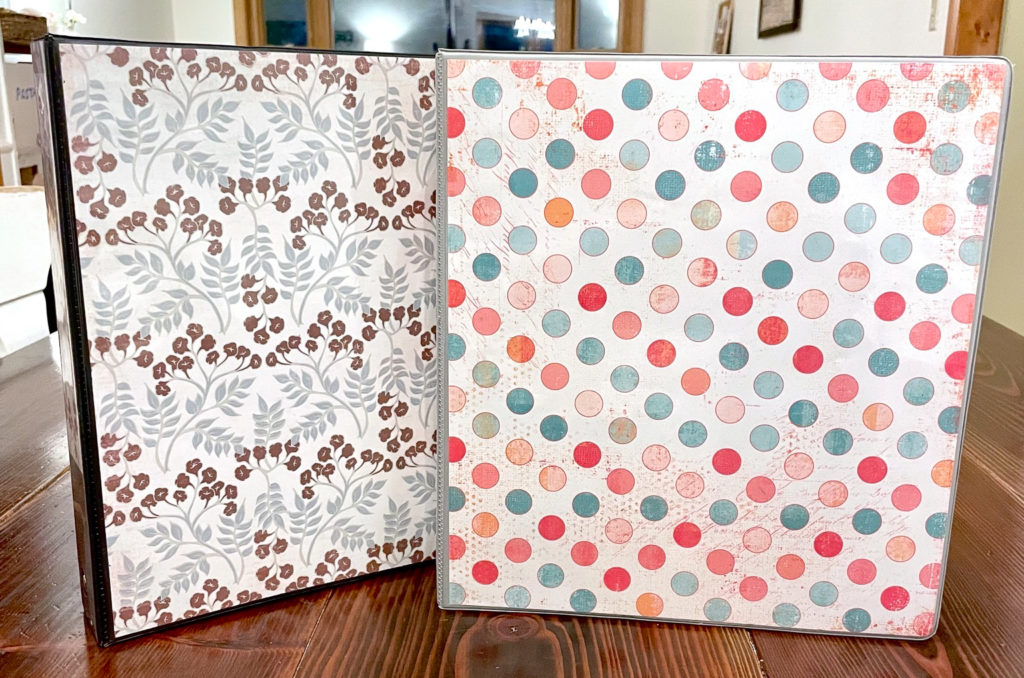
I finally followed through on a friend’s idea and it’s been a total game-changer. All you need is a binder, a printer, and some tab dividers!
Before School Starts
- Print all the quizzes/tests in advance and put them in the binder
- Separate each subject with a tab divider
- Label the binder with your child’s name
During the Year
- At test time, go to that subject’s tab and pull out the next test
- Once complete, it goes in the front pocket of the binder
- After it’s graded, put it behind the other tests in that tab; this keeps the next test on top and ready to go
- Done!
End of the Year
- Go through the binder and average grades for each subject
- Record final grades on your preferred grade sheet (or your high schooler’s transcript)
- Put the grade sheet/transcript in the front of the binder
Notes for High School
I use this chart to convert percentages to letter grades before placing them on the transcript. The same chart shows the related subject-GPAs and I average those to get his yearly GPA.
I don’t weight GPA’s because 1) I can’t wrap my head around the process, 2) it wasn’t necessary for the particular schools my older son applied to and 3) my current high schooler isn’t planning on college.
Step 3: Add Supplemental Homeschool Records
If you’re in a reporting state, or simply want records for younger kids, the binder system can still work for you!
- Keep your spelling notebook in the test binder; take out/replace on test day
- If you pre-plan essays, print a page for each, with the prompt at the top, and include them in your binder
- Or, keep a dedicated essay notebook for each subject and keep those in your test binder
- Work samples, awards, and certificates can be added as well, making your binder an all-in-one place for portfolios and grades
- For outsourced classes, you can place the final grade report in your binder
Depending on the number of subjects/amount of paper, you may need a 3-inch binder for each child.
What I Love About This Homeschool Record System
I’m no longer terrified of finalizing grades. We know where every paper is. I can figure out my high schooler’s GPA within 10 minutes for any subject.
All this homeschool record goodness — for someone who can’t remember to mark an attendance sheet!


Leave a Reply